


 English
  русский
  Français
  Español
  عربى
عربى What Is a Dieline in Packaging? A Practical Guide to Dielines and Packaging Design
Aug 14, 2026
Content
- 1 What Is a Dieline in Packaging?
- 2 Why a Dieline Is the Most Important File in Your Packaging Order
- 3 Anatomy of a Dieline: Understanding the Lines and Zones
- 4 How to Read a Dieline Like a Packaging Professional
- 5 How to Create a Dieline
- 6 Common Dieline Mistakes and Their Impact on Cost
- 7 What to Check Before You Approve a Dieline
Ask a packaging engineer what they need to see before a single sheet goes through the die cutter, and the answer will almost certainly be the dieline. This two-dimensional template decides where the board is cut, where it is creased, where it folds, and where glue is applied. It also decides whether your logo sits in the middle of a panel or lands across a fold line. Get the dieline right, and the rest of the project moves quickly. Get it wrong, and you pay for new dies, new printing plates, and wasted corrugated board.
What Is a Dieline in Packaging?
A dieline is a flat, vector-based template of a package that shows every cut, crease, perforation, and glue area required to turn a sheet of material into a finished box. Think of it as the net of a three-dimensional structure: cut along the solid lines, fold along the dashed lines, apply glue to the marked tabs, and the flat sheet becomes a box.
The term comes from the die-cutting process. A steel rule die is built to match the dieline, and the die-cutting machine presses the shape through the corrugated board. The same dieline is then used as the layout file for printing, so the graphics align with the structure.
Every box style has its own dieline logic. A standard shipping carton needs simple flaps and a center seam. A custom corrugated mailer box adds locking tabs, side creases, and a glued bottom seam that holds the shape without tape. The principle stays the same: the template defines the geometry before any material is committed.
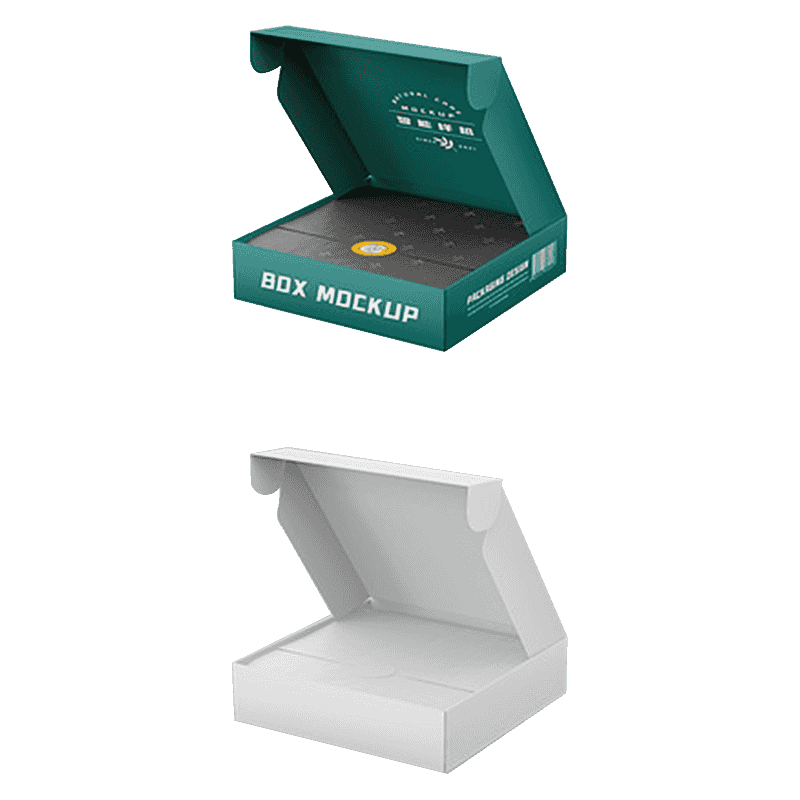 Custom Corrugated Mailer Boxes | Full-Color Branding, Factory DirectCustom corrugated mailer boxes with full-color printing and brand-specific sizing, made in-house in China. Design your unboxing — get a q...View Product →
Why a Dieline Is the Most Important File in Your Packaging Order
The dieline is the only document in the packaging workflow where print and structure are checked together before production. That makes it the strongest control point in the entire project.
It is also where dimensional mistakes are caught. A dieline that measures the base panel a few millimeters too narrow will not be noticed until the product is inserted during packing. The box may bulge, the flaps may not meet, or the stacking strength may fall below what the distribution route requires. If that happens after thousands of boxes are printed, the cost is not limited to the paper: it includes new dies, new printing plates, extra labor, and a missed delivery date.
Artwork created without reference to the dieline causes the same kind of waste. Background color that stops a hair short of the cut line produces a white edge on every box. Text placed across a crease cracks when the flap is folded. These are classic dieline failures, and every one of them is preventable with a little structure awareness.
When you move into a new product category, it pays to compare structures before customizing. Most designers begin with standard corrugated box styles and then adjust the dieline to fit the exact product dimensions, which is faster and more reliable than inventing a new pattern from scratch.
Anatomy of a Dieline: Understanding the Lines and Zones
A dieline is a technical drawing, and every line in it has a specific production meaning. If you can read those lines, you can spot structural problems before your supplier does.
| Line or zone | How it looks | What it controls |
|---|---|---|
| Cut line | Solid line | Where the die blade cuts completely through the board |
| Crease line | Dashed line | Where the board is compressed so it folds cleanly |
| Perforation | Dashed line with small gaps | Where the user can tear the board by hand |
| Bleed area | Area outside the cut line | Extra printed background so no unprinted edge appears after cutting |
| Safety zone | Inset area inside the cut line | Where text and logos must stay so they are not cut or hidden under a fold |
| Glue tab or glue area | Marked flap or shaded zone | Where adhesive is applied during folding and closing |
Bleed is usually 2 to 3 mm on lithographic jobs, but corrugated flexographic printing often needs more because the board is thicker and registration is less precise. A safety zone of at least 5 mm from cuts and creases is a practical default for corrugated packaging, especially when the design contains small type or a detailed logo.
How to Read a Dieline Like a Packaging Professional
Start with the glue tab
The glue tab is the panel that overlaps another panel and receives adhesive. It tells you the folding sequence. Find the glue tab first, then trace each panel around it, and the structure becomes easy to follow.
Follow the fold lines and the flute direction
Crease lines define the edges of the box. On corrugated board, the direction of the flutes relative to those creases matters as much as the fold itself. When the flutes run vertically in the side panels, the box carries stacking loads well and the creases fold cleanly. The flute type also affects the dieline because a thicker flute adds board caliper, which changes the flap lengths. If you are specifying board, review the corrugated flute dimensions before the dieline is finalized.
Check bleed and safety zones on every panel
Walk around the dieline panel by panel. Text and logos should sit inside the safety zone, and any background color should extend into the bleed area. If artwork touches a crease line, the ink may crack when the box is folded, leaving a white or broken line across the print.
How to Create a Dieline
Software options for dieline creation
Professional dielines are drawn with vector software. Adobe Illustrator is the most common choice because it handles precise lines, layers, and output formats that print suppliers require. Structural engineers often use dedicated packaging CAD programs such as Esko or ArtiosCAD, which generate the flat pattern from the box dimensions and simulate the folding. Free drawing tools can work for simple structures, but they must export vector files. Never send a dieline as a JPG, PNG, or screenshot: a dieline has to scale without pixelation, and the factory needs exact coordinates for the cut and crease paths. A raster image cannot provide that.
The steps to a production-ready dieline
- Measure the product and define the inner dimensions. Add a small clearance so the product can be inserted and removed without forcing the board, but not so much that it shifts during transport.
- Select the box style and the board grade. The style determines the layout of panels and flaps; the board grade determines caliper, flute, and strength. For heavy loads, it is worth understanding what a strength rating actually promises before you commit the design.
- Draw the structure in vector software. Keep the cut line and the crease line on separate layers, name the layers clearly, and use colors that the production team can identify at a glance.
- Add bleed, safety zones, and production marks, including registration marks, a fold direction note, and the material identifier when several dielines share one sheet.
- Build a physical prototype. Fold the sample, insert the product, and test the closure, stacking, and graphic position before the dieline is approved.
The prototype step is the one most often skipped, and it is the one that catches most problems. A box that looks correct on screen can show a misaligned flap or a tight fit within seconds when it is folded in hand. For e-commerce packaging, many sellers standardize a family of sizes so that one structural logic scales across many volumes. Our e-commerce cardboard shipping boxes, for example, are available in twelve size options built from the same dieline layout, which keeps packing lines predictable and unit costs manageable.
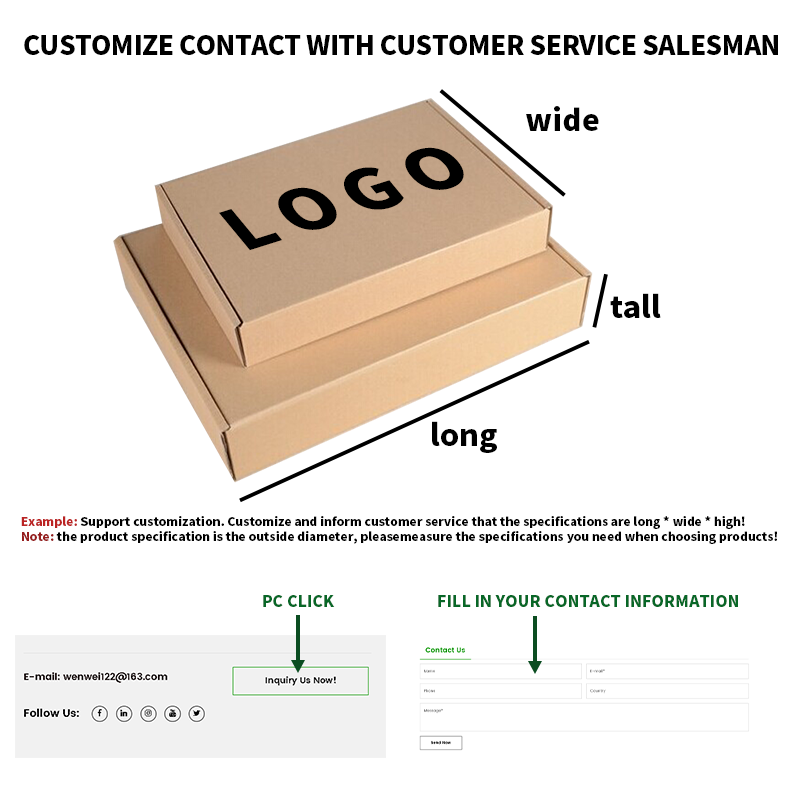 Wholesale 12 Size Options E-commerce Cardboard Shipping Boxes Suppliers, FactoryWenchen Packaging is China Wholesale 12 Size Options E-commerce Cardboard Shipping Boxes Factory and 12 Size Options E-commerce Cardboard...View Product →
Common Dieline Mistakes and Their Impact on Cost
Most dieline problems come from designing a structure that the material cannot deliver. The following mistakes appear regularly in packaging orders, and each one turns into cost before it is discovered.
- Making the structure more complex than corrugated allows. Tight corners, long unsupported flaps, and deep cut-outs weaken the board and raise the die cost. Corrugated board is strong, but it needs reasonable radii and sufficient panel depth.
- Ignoring board thickness when sizing the flaps. Flap lengths are calculated from the outer dimensions, which include the board thickness on both sides. A flap that is too short leaves a gap; one that is too long buckles and stops the box from closing.
- Placing fine print or small images close to a crease. When the box folds, the ink cracks along the score line and leaves a broken stripe across the design.
- Scaling a dieline to fit a different size. Scaling changes wall thickness, flute position, and glue tab dimensions. The result can look correct on a monitor and fail in production.
- Skipping the physical test for food and fresh produce. A corrugated pizza packaging box
 Custom Corrugated Pizza Box | Custom Print & SizeCustom printed corrugated pizza boxes in durable kraft board. Multiple sizes, full-color logo printing, ideal for restaurants & delivery....View Product →, for instance, needs a vented top panel and enough headspace so the hot product does not soften the board or touch the lid. No digital view will confirm that the structure behaves correctly.
 - Selecting a board grade without matching the load. If a box has to carry ten kilograms of goods, the dieline must be paired with a board that delivers that performance. Knowing box strength ratings such as 32 ECT helps you avoid approving a beautiful box that collapses in transit.
What to Check Before You Approve a Dieline
Before you approve any dieline, whether it comes from your own designer or from the packaging manufacturer, run through this short checklist.
- The product fits with a small clearance and can be inserted and removed without tearing the board.
- The flaps and glue tabs are the correct size for the board caliper, and the folding sequence is logical.
- All text and logos stay inside the safety zone, and the background extends into the bleed area.
- The flute direction supports clean folding and the stacking strength required by your distribution route.
- The structure matches the box style you intend to order, and the die-cut dimensions match your original specification.
A dieline is the place where a packaging idea becomes a technical reality. When you know how to read one, you can review a supplier's drawing with confidence, catch problems before they reach the die cutter, and order corrugated packaging knowing exactly what you are approving. If you are ever unsure whether a dieline is production-ready, ask the manufacturer to explain each line. A serious packaging supplier will treat that question as part of the job, not as an inconvenience.

- Contact Us
- Phone:+86-138 1869 0662
- TEL:+86-573 8570 0965
- Email:[email protected]
[email protected] - Address:No. 269, Jinsui Road, Xincang Town, Jiaxing City, Zhejiang Province, China
- Get in Touch

